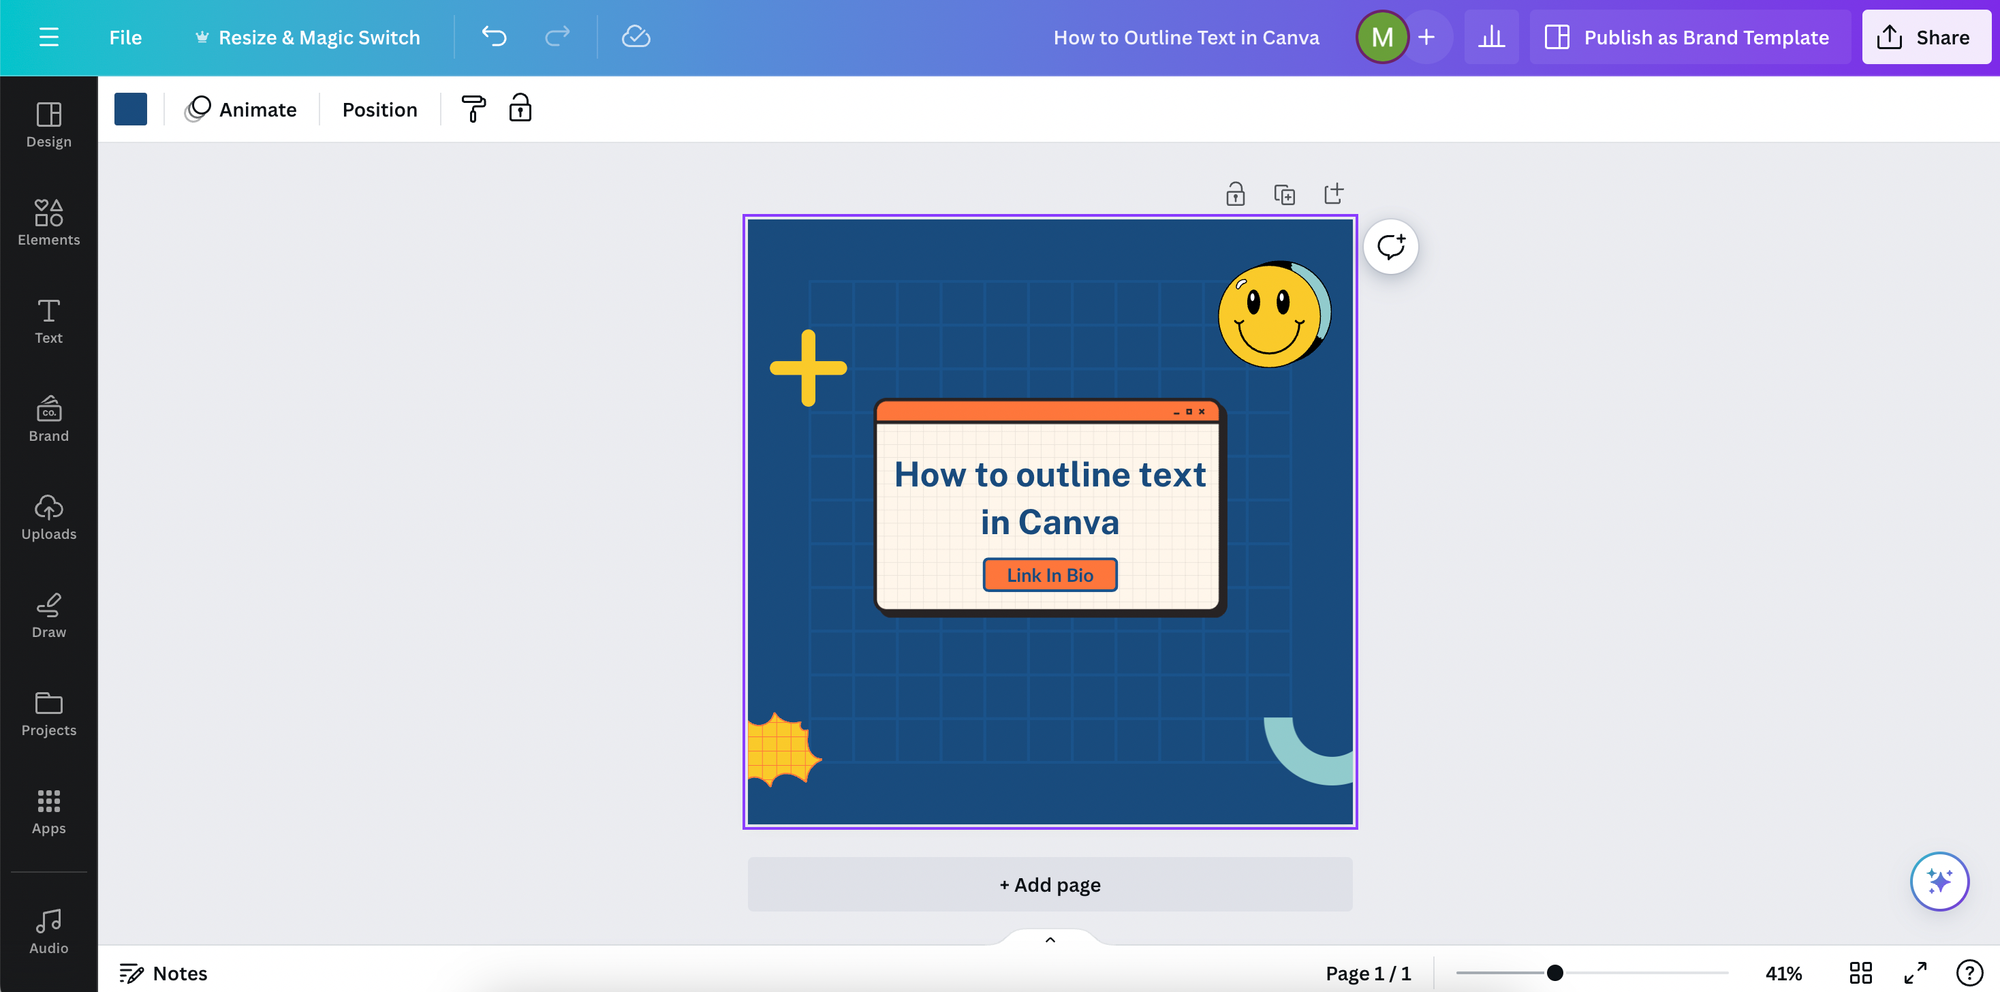
How to Outline Text in Canva: A Step-by-Step Canva Tutorial
Learn how to outline text in Canva to elevate your designs. This guide provides simple steps to enhance readability, contrast, and add a touch of flair to your graphics using Canva's user-friendly features. Perfect for both professionals and beginners looking to create eye-catching visuals.
Creating eye-catching graphics has become an essential skill for both professionals and beginners alike. Canva, an online design tool, simplifies this process with its user-friendly platform. Outlining text is one of the features that can make a design stand out. By adding an outline to text, designers can enhance the contrast, increase readability against complex backgrounds, and give an extra touch of flair to their creations.
When it comes to utilizing Canva for design tasks, mastering the outline text effect can greatly improve the aesthetic appeal of various projects. Whether one is designing social media posts, marketing materials, or personal projects, the addition of outlined text can bring a new level of professionalism and creativity. It's a simple yet powerful way to draw attention to key messages and make text elements pop.
Key Takeaways
- Outlining text in Canva enhances design readability and visual appeal.
- Mastering text outlining is achievable with Canva’s straightforward design tools.
- Finalizing and sharing designs with outlined text is simple with Canva’s platform.
Mastering Text in Canva
Mastering text in Canva hinges on understanding how to manipulate text boxes, select the right typography, and employ various text effects and styles for visual impact - no photoshop needed.
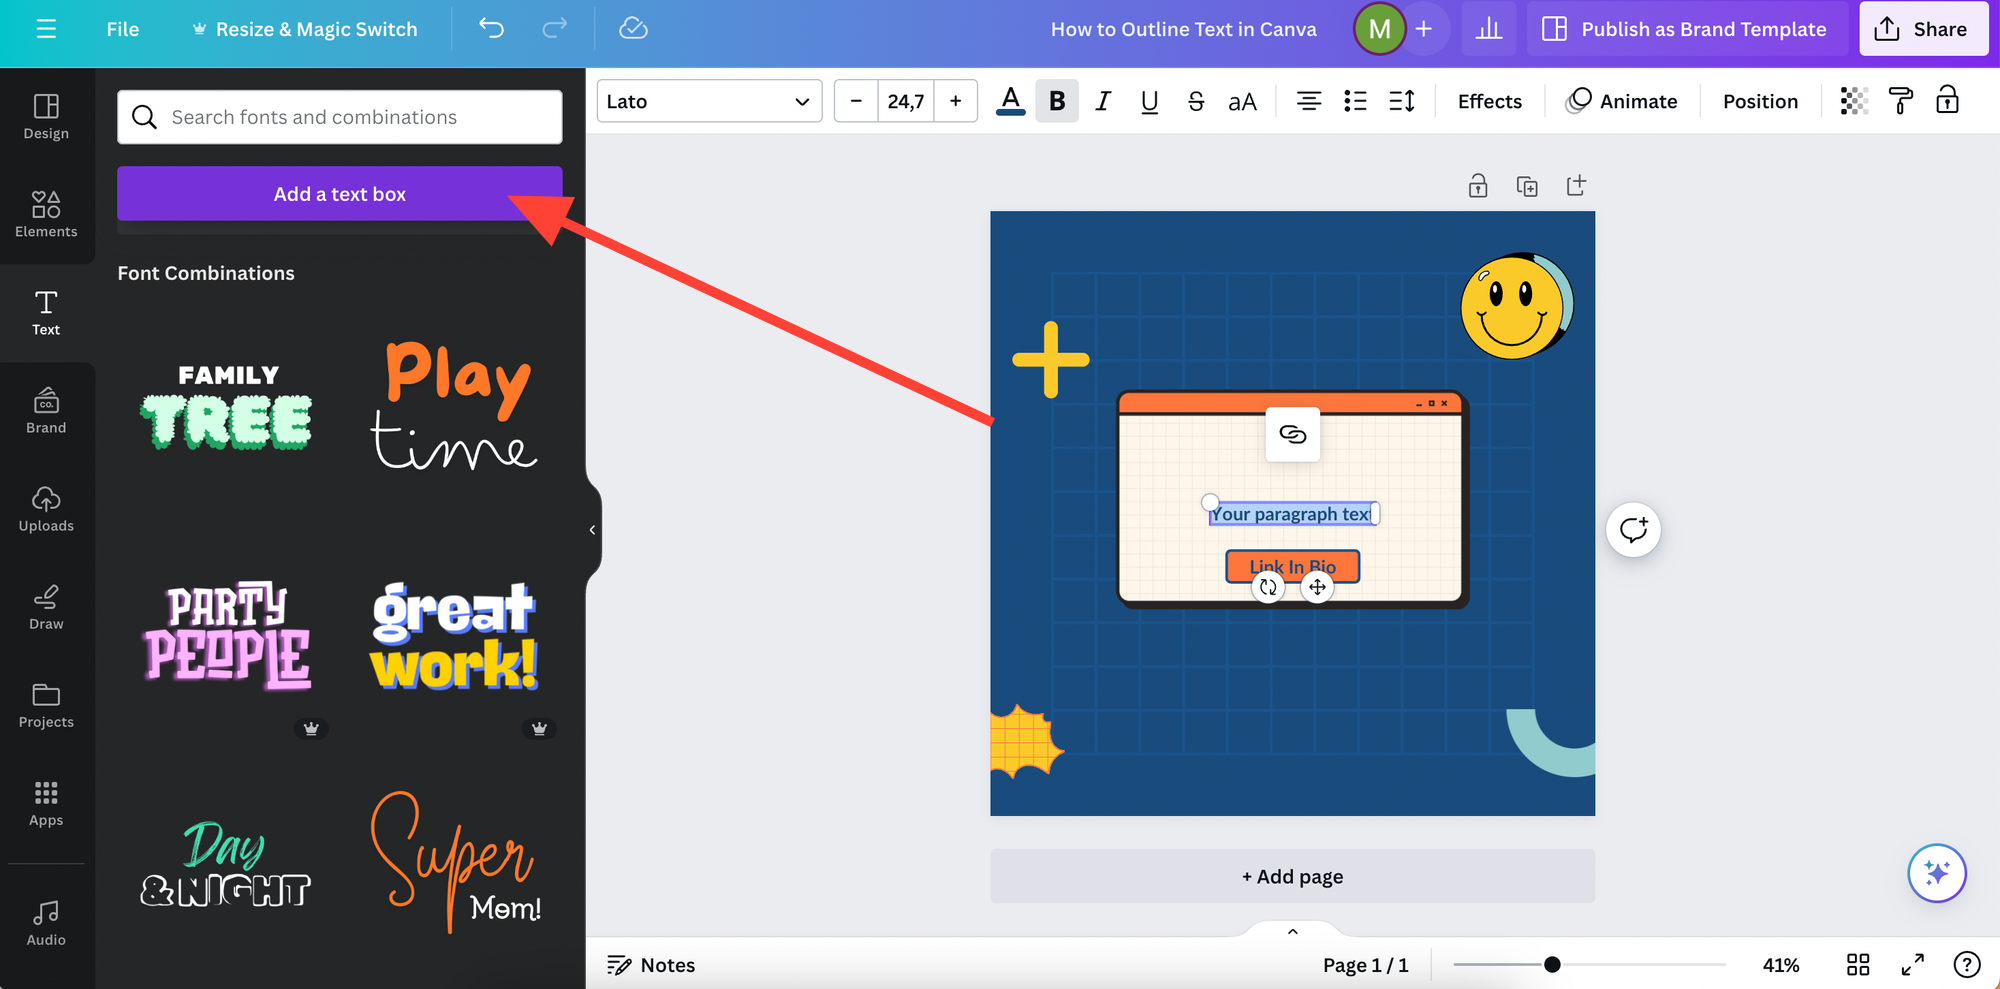
Adding a Text Box
In Canva, one starts by adding a text box to their design canvas. To do this, they click on the 'Text' tab on the left sidebar and select 'Add a text box'. Once clicked, a text box appears on the canvas, and it can be placed anywhere on the design.
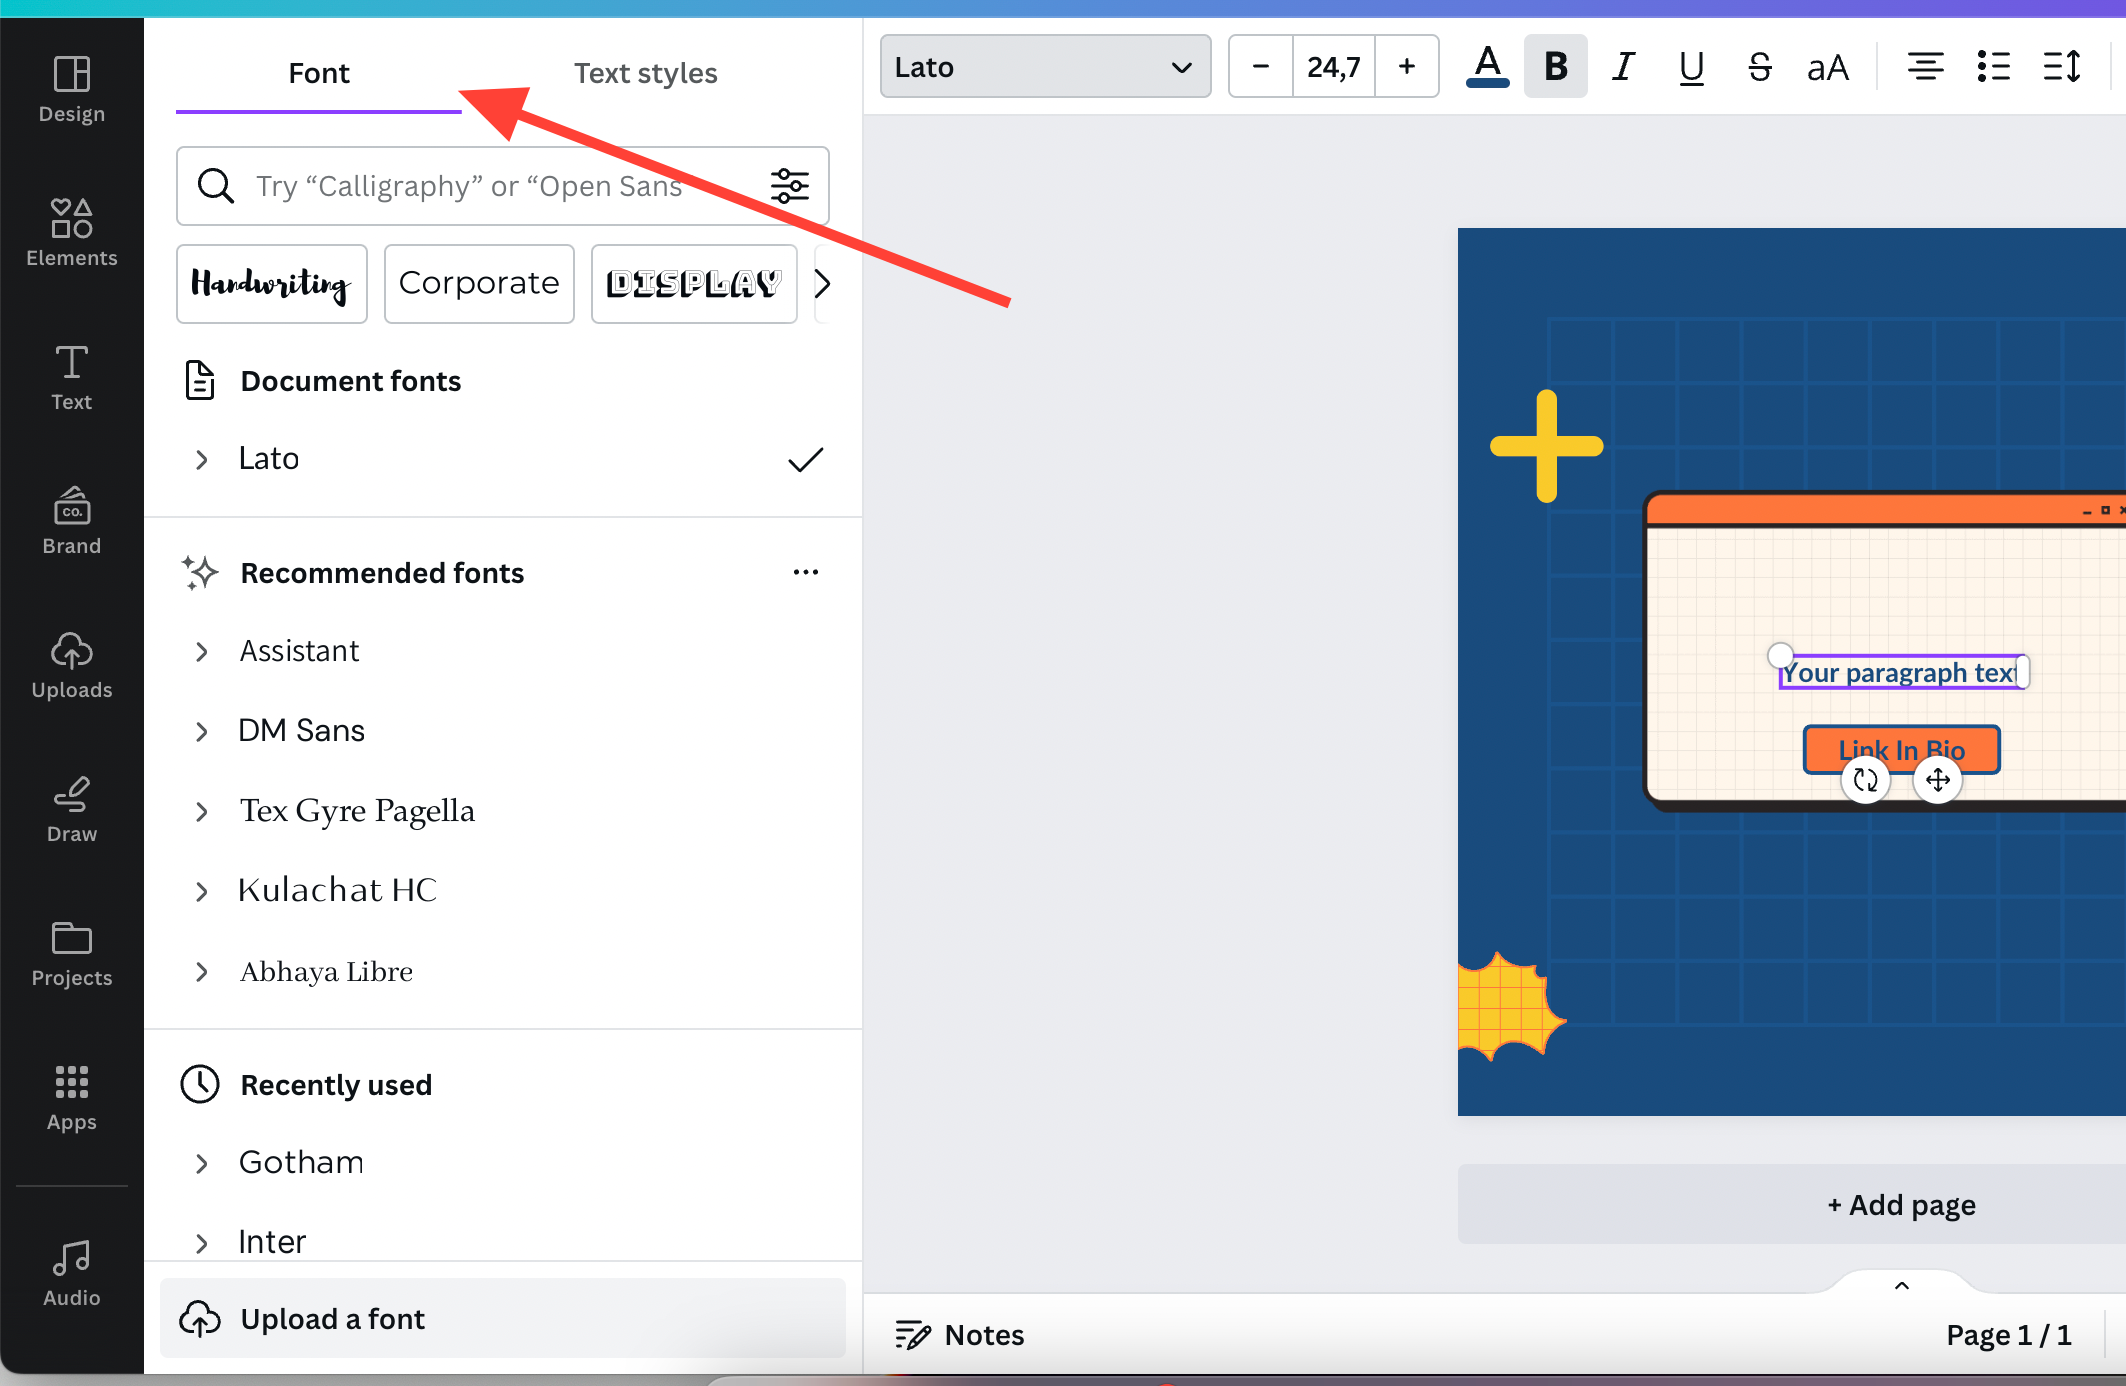
Choosing Fonts and Typography
Disclaimer: The selection of fonts and typography is crucial in Canva designs. Users have access to a wide range of fonts under the 'Text' tab after adding their text box. They can scroll through or search for a specific style. It's important to match the font style to the design's tone and purpose, whether it's a bold serif for a formal look or a playful handwritten font for a casual design.
Applying Text Effects and Styles
To apply text effects and styles in Canva:
- Users select the text box and then choose the 'Effects' button from the top corner to reveal a menu of styles.
- Options for text effects include shadow, glow, and an outline text effect, which creates a border around the text making it stand out against the background.
- To apply an outline, one selects the 'Outline' option and adjusts the color and thickness to their liking.
Creating an Outline Text Effect
The outline text effect in Canva can enhance the visual appeal of text by adding a distinct border, which can be customized in style, thickness, and color.
Step-by-Step Outline Text
To create an outline text effect in Canva, one starts by selecting the text element they wish to modify. Following this, by clicking on the text, a "Text" toolbar appears. Here, by selecting the 'Effects' button, users can navigate to the 'Outline' or ‘Splice’ option. This choice will wrap the text e.g.: in a default border, preparing it for further customization.
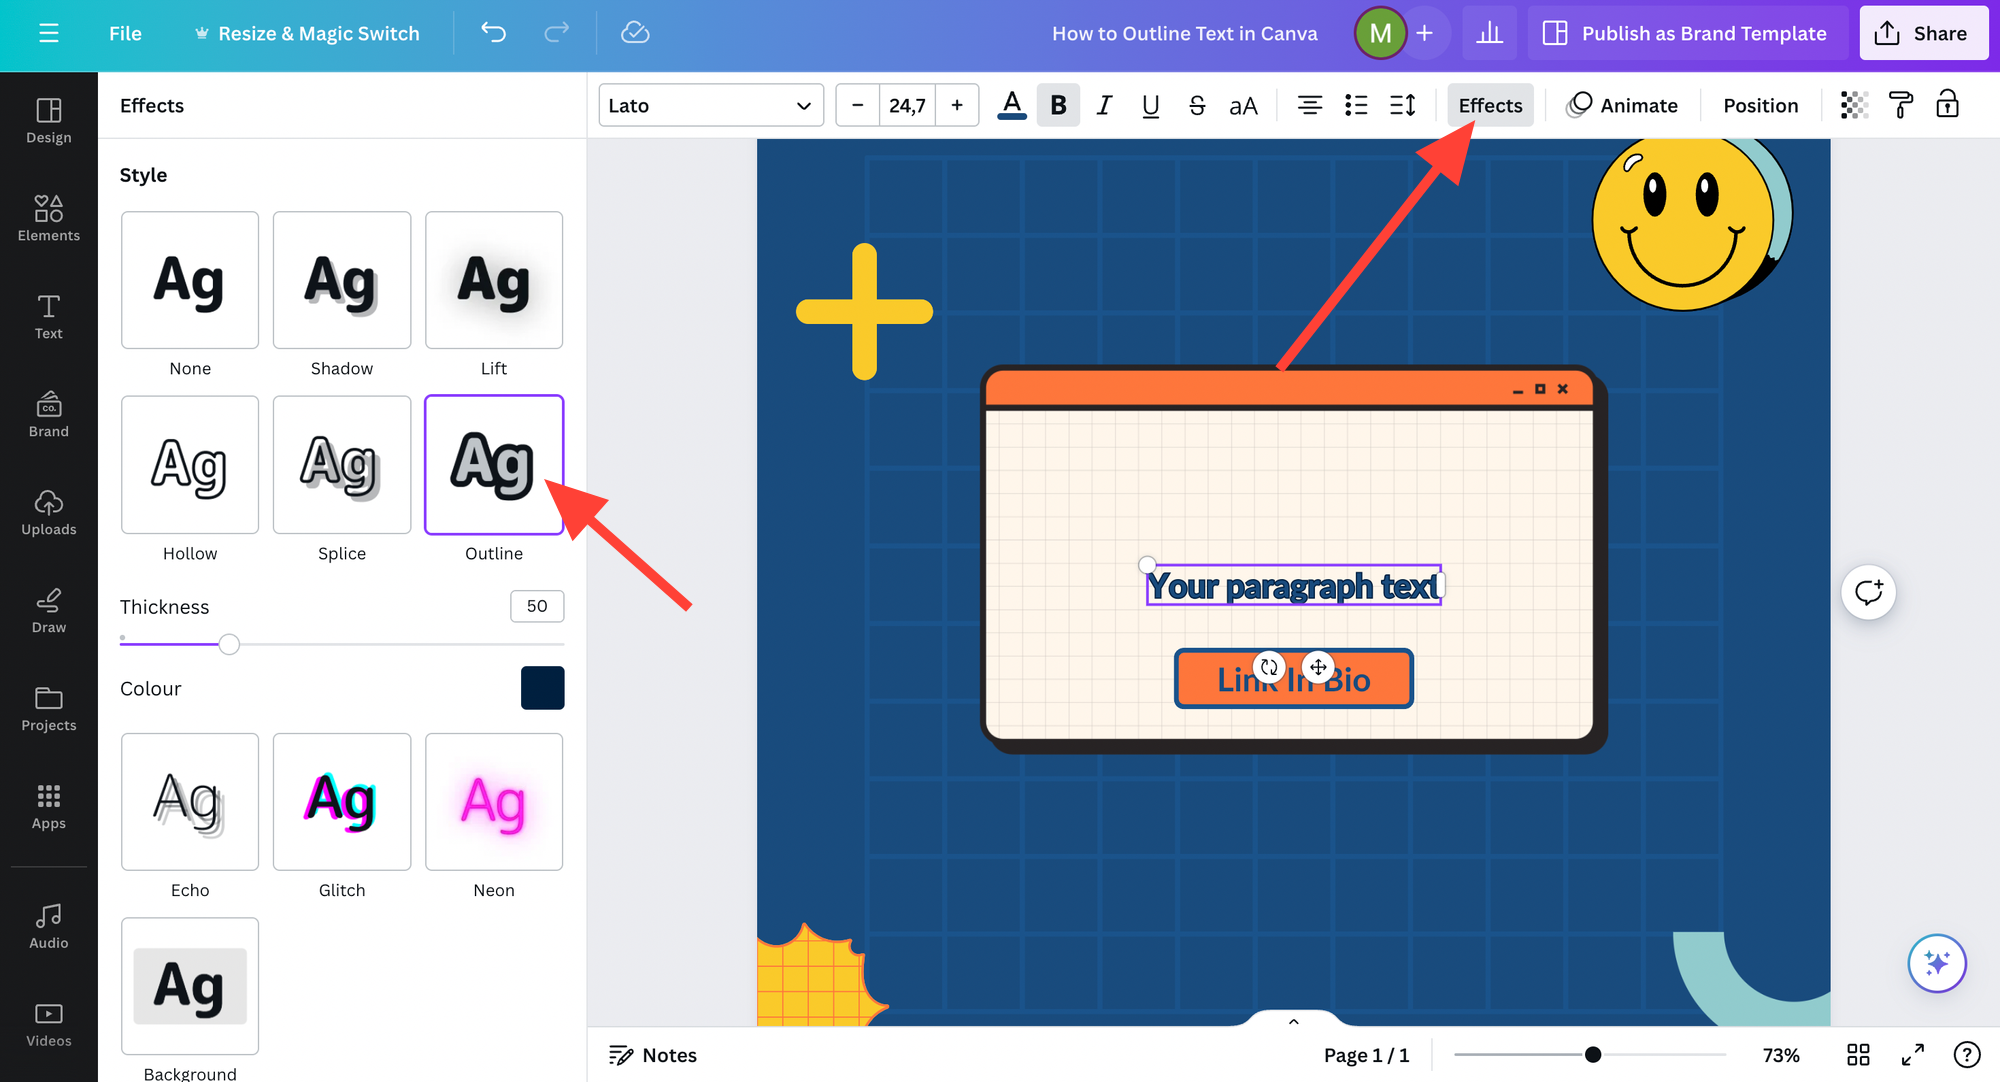
Adjusting Border Style and Thickness
The border’s style and thickness can be personalized to meet different design requirements. In the 'Outline' menu, users have the option to adjust the slider under 'Size' to increase or decrease the border’s thickness.
Customizing Color and Gradient
Color adjustments for the outline can bring contrast or harmony to the visual composition. Users may set a solid outline color by selecting the colored square next to 'Color' in the effects menu. When aiming for a more dynamic appearance, one might choose a gradient instead of a solid color for the outline. To achieve a white outline, simply select the white color from the palette. Canva also allows gradients for border colors; although more complex, such gradients are possible by layering text elements and adjusting their transparency and color.
Enhancing Your Design
To elevate one's design, it is essential to master the use of visuals and understand the intricacies of Canva’s layering and transparency features. Personal touches through DIY elements can also significantly contribute to the uniqueness and appeal of the design.
Incorporating Images and Stickers
One's ability to integrate images and stickers effectively can transform a basic design into an eye-catching visual piece. Images provide a backdrop for the message, while stickers can add personality and draw attention to key areas. Users should:
- Select high-quality images: This ensures a professional and crisp look.
- Choose stickers that complement the theme: They should enhance the overall design without cluttering it.
Graphic design principles dictate that balance and theme consistency are paramount when incorporating these elements.
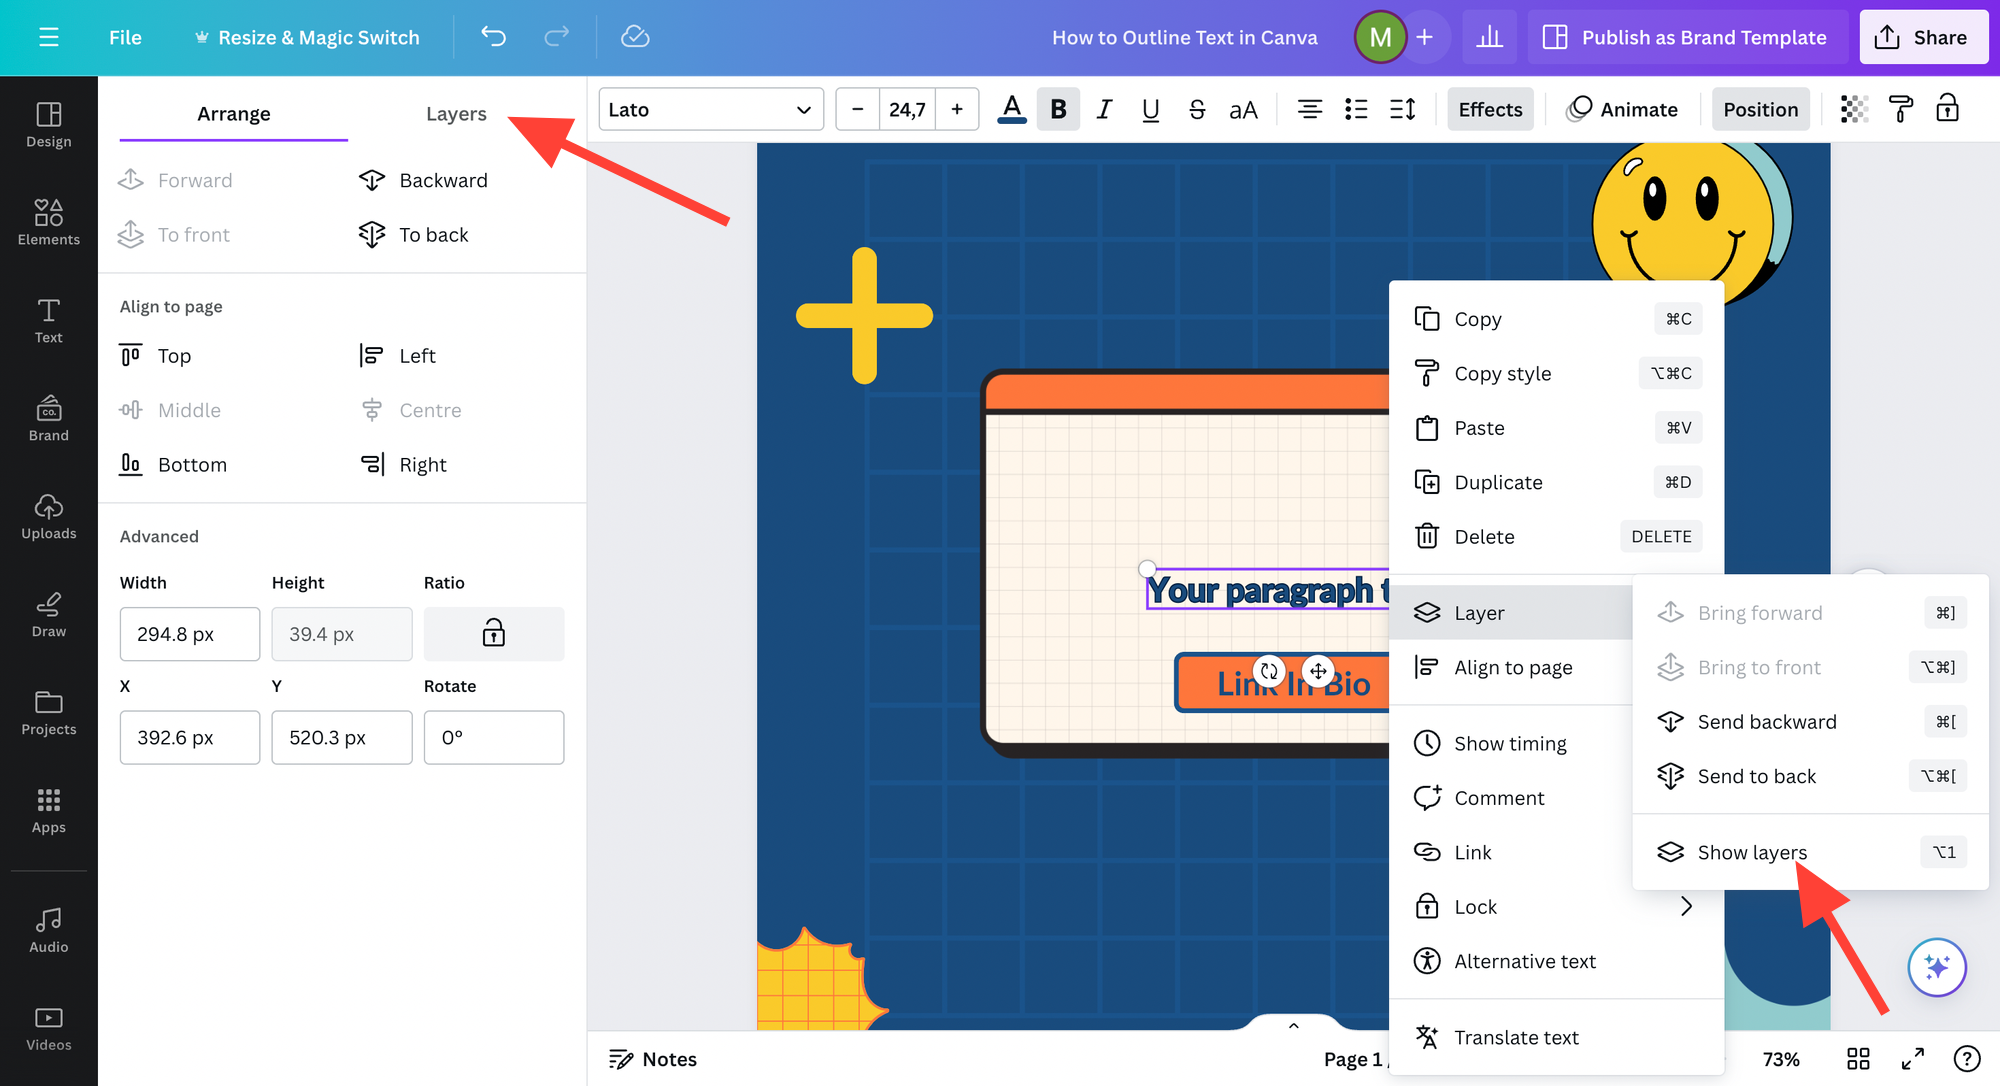
Using Layers and Transparency
Layers and transparency are powerful tools in Canva that can create depth and dimension. To use these effectively:
- Position elements in layers: Text should often be on top, while backgrounds remain at the base layer.
- Adjust transparency settings for a subtle look or to highlight overlays.
Action Purpose Bringing an element forward Enhances focus on specific parts Sending an element backward Creates depth by backgrounding items Adjusting opacity Modifies transparency for nuanced effects
Adding DIY Elements
DIY elements infuse personal creativity into a design, making it stand out. They include:
- Hand-drawn icons or shapes: Infuse a personal touch.
- Custom fonts or text styles: Provide a unique voice to the written content.
A transparent background can be particularly useful when incorporating DIY elements, as it allows for seamless integration into the existing design. The designer has the flexibility to place these custom elements without any background clashes, maintaining the aesthetic integrity of their work.
Advanced Canva Tips and Tricks
To create a design, that’s enhanced requires a strategic approach to leverage both the platform's built-in features and creative design hacks. This focus targets those looking to refine their technique for professional results.
Leveraging Canva Pro Features
Canva Pro offers a comprehensive suite of advanced tools. Users can access a vast library of premium fonts, images, and illustrations, improving the quality and distinctiveness of their designs. A notable Pro feature is the Background Remover, which allows for swift and precise image editing, indispensable for creating polished thumbnails and social media content.
- Magic Resize: They can quickly adjust designs to fit various formats without starting from scratch.
- Brand Kit: They can save brand colors, logos, and fonts for consistent branding across all projects.
Exploring Design Hacks
Canva provides numerous shortcuts and hidden functionalities, which can drastically enhance one’s design efficiency:
- Grids and Frames: A designer can use grids and frames to compose images artistically and maintain alignment.
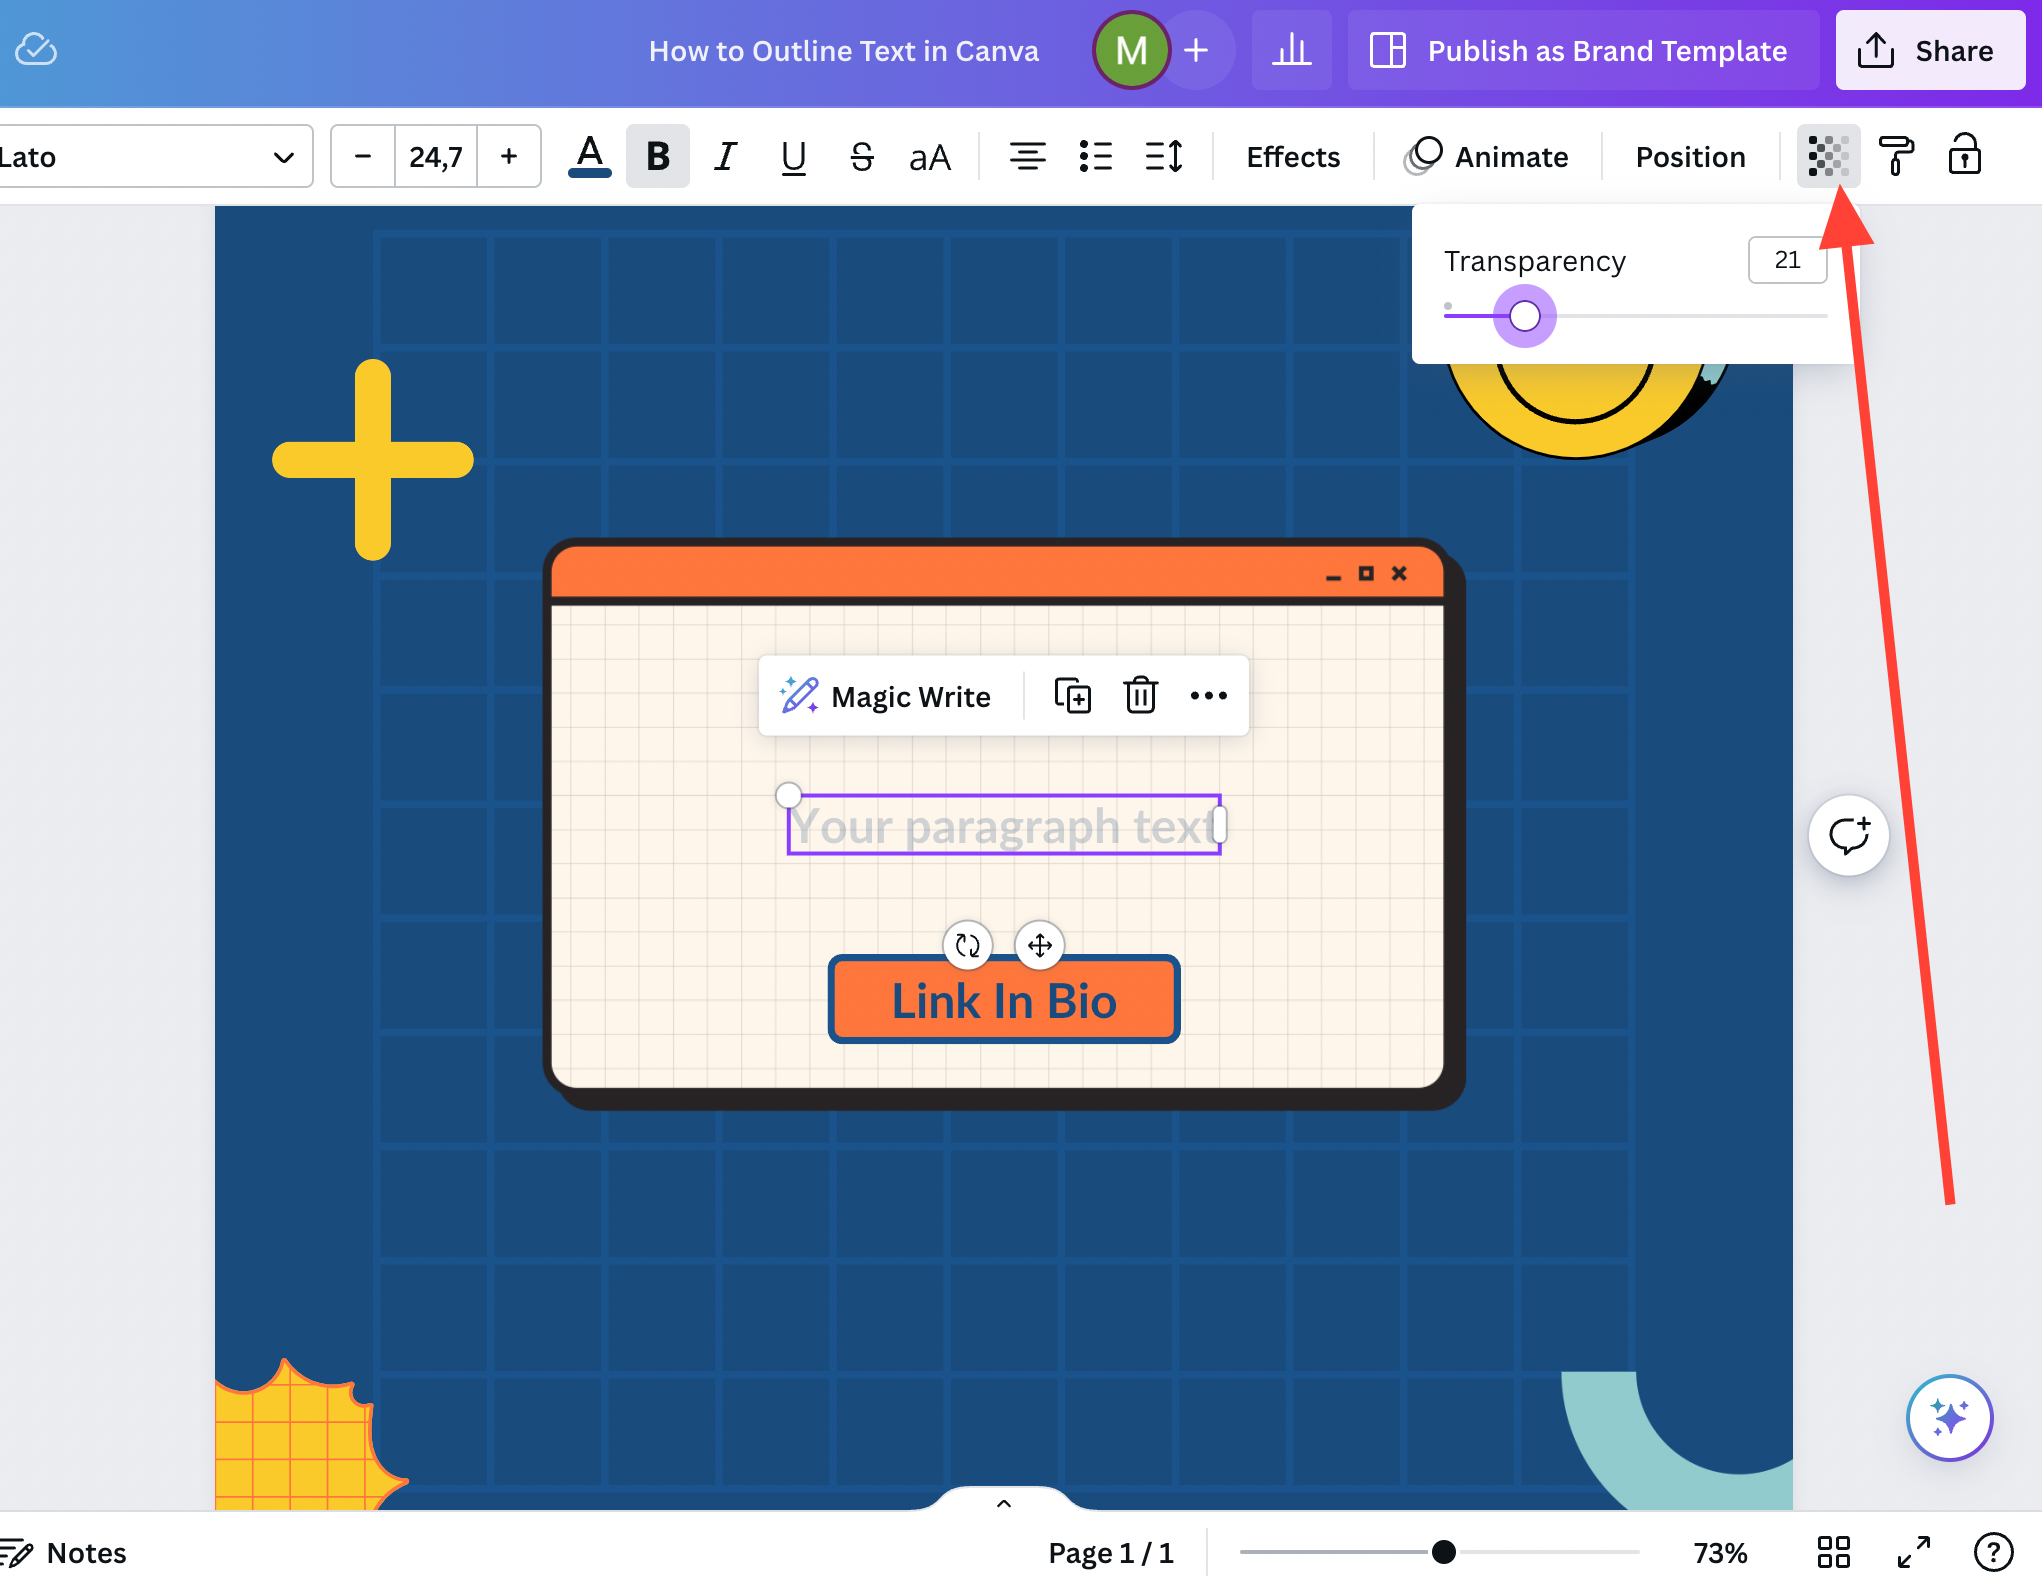
- Transparency Tool: This tool is perfect for text outlining, giving a standout appearance to fonts by adjusting transparency levels.
Optimizing for Social Media and Thumbnails
For social media and thumbnails, where visuals have a split second to capture attention, detailed attention to the following features ensures heightened engagement:
- Templates: They can start with templates tailored for different social media platforms to maintain optimal image sizes and text placement.
- Animation: Bring thumbnails to life by adding subtle animations that draw the viewer’s eye, which is especially useful for platforms like YouTube and Instagram.
- Thumbnail Tips:
- Keep titles short and bold for visibility.
- Utilize contrasting colors to make the thumbnail pop against various backgrounds.
Each feature and hack mentioned contributes significantly to professional-standard designs, allowing the designer to stand out on any social media platform or digital space they choose to dominate.
Finalizing and Sharing Your Creation
Once the outlined text is added and the design is complete, one needs to export their work to share it effectively. Mastery of exporting and sharing options ensures that the creation displays correctly across different mediums and reaches the intended audience.
Exporting to Different Formats
When ready to export a template or design to say social media or thumbnails, Canva offers a variety of file formats to cater to different uses. For a high-quality image, especially for platforms like Etsy or TikTok, exporting as a PNG is a common choice. Additionally, one can resize the design to meet the specifications of different platforms, ensuring that the content creators' visuals remain sharp and clear.
- PNG: Best for most cases, offers transparency.
- JPG: Good for smaller file sizes.
- PDF: Ideal for print materials.
Frequently Asked Questions
Creating text outlines in Canva can enhance the visual impact of your designs. This section answers common questions on how to apply, modify, and utilize text outlines within Canva.
What are the steps to add a text outline in Canva?
To add a text outline in Canva, select the text box, click on 'Effects,' and choose 'Shadow.' Here, adjust the transparency, color, and blur to create a pseudo-outline effect around your text.
Is it possible to create a double outline on text in Canva, and how?
Canva currently does not support a direct method for double outlines, but a similar effect can be achieved by layering two text boxes with different shadow settings and aligning them closely.
How to convert text into a vector format in Canva?
Converting text to a vector format is not an available feature within Canva. Users can export their designs as high-resolution images or PDFs but cannot directly create vector text within the platform.
What method is used to put a border around text within Canva?
To add a border around text in Canva, duplicate the text layer, change the duplicate's color to serve as the border, and offset it slightly behind the original text to create a border effect.
How can I offset my text for a layered effect in Canva?
Layered text effects can be achieved by duplicating the text, changing the duplicate's color, and positioning it behind the original to create a depth effect. Adjust the alignment for the desired offset.
Which fonts in Canva are recommended for creating the best text outlines?
Thicker, bolder fonts typically work best for text outlines as they provide more space for the outline effect to be noticeable. Examples include 'Anton,' 'League Spartan,' and 'Oswald.