How to Cut Shapes in Illustrator: Mastering Vector Graphics Editing
Adobe Illustrator is a powerful tool in the graphic design industry, used extensively for creating vector graphics. One of the essential skills in Illustrator is knowing how to cut out shapes, which allows designers to manipulate and customize graphics to their liking. By mastering cutting tools, you can divide shapes into segments or remove parts to craft intricate designs. Cutting shapes effectively requires understanding the diverse tools Illustrator offers, such as the Knife Tool, Scissors Tool, and Pathfinder operations.

Illustrator provides several methods for cutting shapes, each serving a different purpose, from slicing with the Knife Tool for free-form divisions to using the Pathfinder panel for more structured and precise edits. In addition to these tools, the Clipping Mask function offers an alternative way to hide undesired parts without actually cutting the shape, retaining the flexibility to edit later. These techniques are essential for crafting bespoke graphics or modifying existing ones, making the ability to cut shapes a vital skill for designers looking to leverage Illustrator's full potential.
Key Takeaways
- Mastering cutting tools is crucial for effective shape manipulation in Illustrator.
- Illustrator offers a range of cutting methods, including the Knife and Scissors Tools, as well as Pathfinder operations.
- The Clipping Mask function provides a non-destructive alternative to cutting, allowing for editing flexibility.
System Requirements and Setup

Before one embarks on the journey of shaping visuals using Adobe Illustrator, they must ensure their system meets the necessary requirements and that they navigate and set up the workspace efficiently.
Installing Adobe Illustrator
To begin using Adobe Illustrator, an individual requires a reliable computer system. Adobe Illustrator's system requirements for both Windows and macOS platforms include a multicore Intel or AMD processor with 64-bit support. For Windows, users need Windows 10 (64-bit) or later, while macOS users should have version 10.15 (Catalina) or newer. The application demands a minimum of 8 GB of RAM—though 16 GB is recommended—for seamless performance, and a GPU with DirectX 12 support. Users are to follow the on-screen instructions after initiating the installer to successfully instal the program.
Adobe Illustrator system requirements
Navigating the Workspace
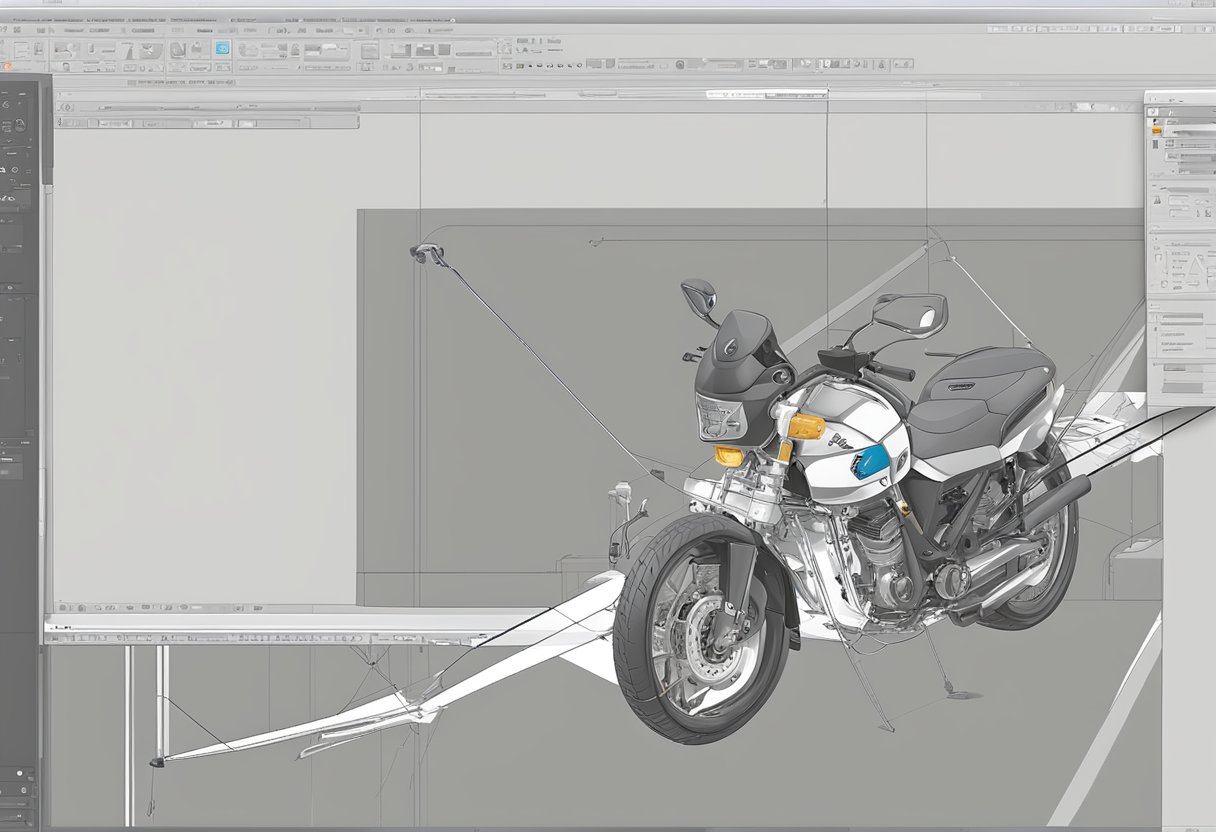
Once installation is complete, familiarity with the workspace is essential for an efficient workflow. A core component of Illustrator's interface is the properties panel, which dynamically displays pertinent options and tools based on the selected object. New users are encouraged to explore the various toolbars and panels, each offering unique functionalities. The main workspace typically consists of the menu bar, the tools panel, and various other panels for layers, colors, and effects that can be arranged according to personal preference.
Configuring Preferences
Configuring Illustrator to one's liking underlies a personalised and efficient design experience. To configure, users should go to Edit > Preferences (Windows) or Illustrator > Preferences (macOS). Here, they can adjust settings regarding general operations, tools, preferences, and the workspace. Inspecting options such as units of measurement, guides, grid settings, and device-specific performance can greatly enhance Illustrator’s usability. The vital aspect of preference configuration lies in streamlining the workflow and optimizing the software performance to match the user's hardware capabilities.
Understanding Illustrator Fundamentals

Before diving into the specifics of how to manipulate shapes in Adobe Illustrator, it's essential to grasp the foundational elements that make up this powerful graphic design software. These encompass an understanding of vector graphics, the use of artboards, and familiarizing oneself with the assortment of tools available.
Vector Graphics Overview
Vector graphics are the cornerstone of Illustrator's capabilities. Unlike raster graphics, which are based on pixels, vector graphics rely on mathematical equations to represent images. This ensures that shapes and paths can be scaled infinitely without any loss of quality, making them ideal for everything from logos to complex illustrations.
Working with Artboards
Artboards in Illustrator serve as individual canvases where the design work takes place. One can define the precise dimensions for each artboard, making it possible to work on multiple versions or components of a design simultaneously. Users can also arrange artboards sequentially to storyboard their designs, essentially providing a visual overview of the entire project within a single Illustrator file.
Using the Tools Panel
The Tools Panel in Illustrator is where one will find an array of utilities to create and manipulate vector graphics. Central to this are tools like the Pen Tool for drawing precise paths, the Shape Tools for quickly generating basic shapes, and the Selection Tools for manipulating these components. The Pathfinder Panel is another critical feature, as it allows designers to combine, subtract, or divide shapes to create complex paths and designs. Understanding the toolbar and its functionalities is indispensable for effective vector design.
Creating and Managing Shapes
Adobe Illustrator provides robust tools for creating and managing shapes, where the user can draw, transform, and combine vector objects with precision and ease. Mastery of these tools is essential for effective design workflow.
Drawing Basic Shapes
Illustrator offers a variety of tools to draw basic shapes like rectangles and ellipses. The Rectangle Tool (M) and Ellipse Tool (L) allow users to click and drag on the canvas to create the desired shape. Holding Shift while dragging ensures that the shapes, such as squares or circles, have equal proportions.
Transforming and Rotating Shapes
Once a shape is created, it can be transformed—scaled, rotated, or moved—to fit the design. By selecting the shape with the Selection Tool (V), users can access bounding box handles to resize the object. To rotate, one should move the cursor away from a corner until it becomes a curved arrow, then click and drag. Holding Shift constrains the rotation to 45-degree increments.
Utilizing Shape Builder and Pathfinder
For more complex shapes, Illustrator's Shape Builder Tool (Shift + M) and Pathfinder features are fundamental. The Shape Builder allows merging of selected shapes by simply dragging across them. Pathfinder provides shape modes and options to combine vector objects in various ways, such as by uniting or subtracting overlapping areas. The use of these tools expands the creative possibilities beyond basic shapes, enabling intricate designs and layouts.
Using these features, designers are equipped to craft everything from simple icons to detailed vector illustrations, underscoring the importance of proficiency in creating and managing shapes in Illustrator.
Cutting and Editing Shapes
In the precise and versatile world of Adobe Illustrator, cutting and editing shapes is fundamental for creating intricate designs. Mastering the various tools such as the Knife and Scissors tools, Pathfinder functions, and Direct Selection can dramatically expand a designer's capabilities.
Cutting with Knife and Scissors Tools
The Knife Tool provides flexibility to cut shapes with freeform strokes, making it suitable for organic cuts through any vector object. To use it, one simply selects the tool and drags it through the desired object to create a cut. Meanwhile, the Scissors Tool offers more control for cutting along a path. With a click on an anchor point or along a segment, the user can split a path, effectively cutting the shape into separate parts.
Subtracting and Dividing Paths
Utilizing the Pathfinder Tool can significantly streamline the process of cutting shapes. The user can subtract one shape from another using the "Minus Front" command, effectively cutting out shapes to create a composite of the remaining paths. The "Divide" function is also critical, as it splits a design into individual components that can later be modified independently.
Fine-tuning with Direct Selection
After cutting and splitting paths, the Direct Selection Tool is invaluable for making precise adjustments. This tool allows users to tweak individual anchor points and control handles, allowing for the meticulous reshaping and aligning of cut paths or segments. Fine-tuning each element is essential to ensure that the final form meets the exacting standards of professional design work.
Using this arsenal of tools, Illustrator users can cut, edit, and refine their designs, transforming simple shapes into complex and precise graphic elements.
Advanced Editing Techniques
In Illustrator, advanced editing of shapes hinges on the precision handling of tools like the Pen tool and Shape Builder tool, as well as adept manipulation of anchor points and paths to refine artwork.
Mastering the Pen Tool
The Pen tool is indispensable for creating intricate vector graphics in Illustrator. Crafting precise lines and curves begins with clicking to add anchor points. Users can generate smooth paths by clicking and dragging to manipulate direction handles, essential for shaping curves with accuracy.
Adding and Removing Anchor Points
To refine vector shapes, adding or removing anchor points is crucial. Illustrator's Pen tool allows users to add anchor points by clicking on a path where more precise control is needed. Conversely, excess anchor points can be removed without altering the shape's integrity, simplifying the outline and making edits easier to manage.
Manipulating Paths and Outlines
Once outlines are established, users can edit paths by adjusting anchor points to alter the shape. Using the Shape Builder tool enhances this process, allowing for the combination of multiple shapes into one. Complex operations like subtract to remove areas, intersect where shapes overlap, and minus front to cut shapes out are achieved seamlessly, transforming individual paths into composite graphics.
Working with Color and Styling
When creating visuals in Illustrator, effective use of color and patterns can bring a design to life, while live corners facilitate dynamic shape transformations without sacrificing design integrity.
Applying Color and Patterns
An artist can apply color to a shape in Illustrator by selecting it and then choosing a solid color, gradient, or pattern. The Color Picker or Swatches panels serve as starting points for color selection, offering a wide spectrum of predefined colors. For patterns, they may access the Swatches panel, selecting from various seamless patterns or creating custom ones to fit their design purposes, like making logos stand out.
Using Live Corners for Dynamic Effects
Illustrator's Live Corners feature allows a designer to easily modify the corners of shapes, facilitating the creation of soft edges or dynamic effects. After selecting a shape, one can find Live Corners by using the Direct Selection Tool. By dragging these corners, they can adjust the curvature, adding a subtle softness or more pronounced effect, which is especially useful when designing logos or icons that require a particular style. Live corners support uniform and non-uniform adjustments, giving them full control over the shape's final appearance.
Effects and Complex Shape Creation
In Adobe Illustrator, users can utilize the Pathfinder tool and various effects to create complex shapes. These features allow for the manipulation of simple shapes into intricate designs, enabling a wide range of creative possibilities.
Creating Compound Paths
To begin constructing more complex graphics, users often create compound paths. This involves combining multiple simple shapes into a single object which can be manipulated as a unit. To create a compound path, one selects the shapes in question and applies the Command + 8 shortcut (Ctrl + 8 on Windows). This action melds the shapes, effectively treating them as one. Compound paths are essential for intricate designs where individual elements must move together seamlessly.
Using Advanced Pathfinder Options
The Pathfinder panel is the powerhouse behind Illustrator's ability to unite, divide, and merge shapes. To access these options, one would go to Window > Pathfinder. Here's a brief rundown of some key Pathfinder commands:
- Divide: This command splits a selection of overlapping shapes into distinct, non-overlapping parts, which can then be separately manipulated.
- Unite: Combining selected shapes into one contiguous object is done with the Unite command, helpful for creating a single, clean-cut graphic.
- Minus Front: It subtracts the top shape from the one underneath, creating a cut-out effect useful for hollowing out shapes.
- Intersect: This option creates a shape from the area where selected shapes overlap, discarding the non-intersecting areas.
- Exclude: A counterpart to Intersect, Exclude retains only the non-overlapping areas of selected shapes while removing the intersecting parts.
These tools enable users to perform complex operations that would otherwise be time-consuming, making them essential for any designer working with vector graphics in Adobe Illustrator.
Streamlining Workflows
To significantly improve efficiency in Adobe Illustrator, one should leverage the robust layer management and alignment features, as well as master key keyboard shortcuts and quick actions for routine tasks.
Efficient Use of Layers and Guides
In Illustrator, layers are fundamental for organizing different elements of a design to streamline the creative process. Users should lock and unlock layers via the Layers Panel to prevent accidental edits and maintain clean workflows. Utilizing guides is essential for precise alignments and positioning. They create drag-and-drop guides from the rulers which can be locked with Ctrl / Cmd + Alt + ; to prevent movement during design.
To distribute objects accurately, the Align panel provides options to align or distribute selected objects relative to each other or to the artboard. One can streamline complex patterns or forms using the Split Into Grid feature by selecting Object > Path > Split Into Grid. This allows one to divide an object into multiple rows and columns and specify spacing (gutter) for a unified structure.
Implementing Keyboard Shortcuts and Quick Actions
Effective use of keyboard shortcuts drastically reduces the time taken for repetitive tasks. The Selection Tool can be quickly accessed with the V key, instantly allowing for the selection and movement of objects. To quickly alternate between the Selection and Direct Selection tools, the Cmd / Ctrl key will toggle to the Direct Selection Tool when held down.
For precise rotation, one can hold down the Shift key while dragging to rotate in 15-degree increments with the Rotate Tool. Shortcut combinations streamline actions: Shift + M activates the Shape Builder Tool, allowing users to combine shapes effortlessly. When cutting, the Knife Tool can be enhanced by holding the Alt (or Option on Mac) key to make straight cuts.
To swiftly move through the artboard or toggle visibility, Cmd / Ctrl + 0 fits everything to the screen, while Cmd / Ctrl + 1 sets the view to 100%. Remembering these shortcuts provides an immediate boost in productivity for any designer.
Exporting and Sharing Artwork
When finalizing projects in Adobe Illustrator, it's essential to understand the nuances of exporting files for various uses and how to effectively share your artwork for feedback and collaboration.
Finalizing and Exporting Files
In Adobe Illustrator, one has multiple ways to finalize and export artwork. Before exporting, ensure that all design elements are correctly aligned and that any unnecessary layers or objects are removed to streamline the file. For artwork meant for print, one must set the proper bleed and make sure colors are CMYK formatted. For digital use, RGB is the standard color mode. When the file is ready, select File > Export and choose an appropriate format depending on the intended use. Common formats include:
- PNG or JPEG: Best for web and digital screens.
- PDF: Ideal for sharing with clients or printing.
- SVG: For web development usage.
- EPS: Commonly used for print.
Adobe Illustrator supports exporting multiple artboards to formats like SWF, JPEG, PSD, PNG, and TIFF, which is useful for projects with multiple pages or variations.
Sharing for Feedback and Collaboration
Sharing artwork for feedback is streamlined with Adobe's Creative Cloud platform. It allows one to easily import and export files, share assets, and collaborate in real time. To share files for feedback, one can utilize the File > Share for Review feature, which allows for commenting and annotation without the reviewer needing a copy of Illustrator. For a collaborative approach, Illustrator files can be saved to the Creative Cloud, allowing multiple users to work on the file, ensuring that all parties have access to the latest version. Files may also be packaged with all linked images and fonts using the File > Package feature, which is perfect for handing off to another designer or printer.
Frequently Asked Questions
Illustrator offers a variety of tools to manipulate shapes, each suited for specific tasks like dividing, trimming, and subtracting parts of your design.
What steps are needed to divide a shape into two equal parts in Illustrator?
To divide a shape into two equal parts, the most straightforward method is to use the Split Into Grid option. This function lets you specify the number of rows and columns and can be used to split the object into two equal sections by setting these to two.
Can you explain how to use the Knife tool to create custom shapes in Illustrator?
The Knife tool allows for freeform cutting of shapes. You draw with the Knife Tool across your shape to cut it. For a straight cut, hold down the Alt key (Option on Mac); add the Shift key to constrain the cut to 45-degree angles.
What method should be used to remove a section of a shape in Illustrator?
To remove a section of a shape, use the Pathfinder Tool. By overlapping the section to be removed with another shape and then using Pathfinder's subtract function, you can seamlessly remove specific sections.
How is the Trim function utilized to edit lines at intersections in Illustrator?
The Trim function in the Pathfinder panel allows you to edit and clean up where paths intersect. By selecting all intersecting lines and clicking the Trim button, unwanted pieces are removed, and adjacent paths are trimmed to their intersections.
What is the process to subtract one shape from another, creating a cutout effect in Illustrator?
To subtract one shape from another and create a cutout effect, select both shapes and utilize the Pathfinder panel's Minus Front command. This will use the top shape as a "cookie-cutter" and subtract its area from the bottom shape.
How can I crop a specific area within a shape in Illustrator?
To crop an area within a shape, use the Clipping Mask technique. Place the shape you want to use as a crop area above the shape to be cropped, select both, then choose 'Object' > 'Clipping Mask' > 'Make'. The top shape will define the visible area of the bottom shape.