How to Add a Border in Canva: A Step-by-Step Guide
Adding a border to your design in Canva is a simple yet powerful way to enhance visual impact. Borders serve not only as frames that define the space of your content but also add a layer of polish that can make your designs stand out. With Canva's user-friendly interface, adding and customizing borders can be achieved in just a few clicks. Whether you're aiming for a subtle outline or a bold statement frame, Canva provides you with the tools to create borders that complement your design aesthetic.
Canva offers a variety of border options, including basic lines, illustrated frames, and even the ability to customize borders by adjusting their weight, color, and roundness. This flexibility ensures that no matter what your project is, there's always a suitable border option to complete it. Advanced users can explore more complex border techniques by experimenting with shadows, textures, and dual borders to create unique and eye-catching designs. Even without professional design experience, Canva's intuitive platform empowers users to apply these enhancements with ease and confidence.
Key Takeaways
- Canva’s interface allows for easy border addition and customization to enhance design appeal.
- A range of border styles and editing features supports personalization for various project types.
- Even non-professionals can employ advanced border techniques to elevate their Canva designs.
Getting Started with Canva
Canva is a user-friendly graphic design tool that enables individuals to create stunning visuals with ease. Whether one is using Canva on desktop or mobile devices, the platform's intuitive editor makes it accessible for users across different operating systems such as Mac, PC, or Windows.
Setting up Canva
First-time users will need to sign up and create an account. Once inside Canva’s dashboard, individuals are greeted with a variety of templates tailored to different design needs, ranging from social media graphics to presentations.
Navigating the Canva Editor
Upon choosing a template or starting a new design, the Canva editor offers a drag-and-drop interface. Here’s a quick rundown of the main features to get started:
- Templates: Pre-designed layouts available for various projects.
- Elements: Graphics, shapes, and lines to embellish your design.
- Text: Add and customize textual content with different fonts and styles.
- Uploads: Import personal images or documents to include in the design.
- Photos: Access to a library of stock images.
Designing on Different Devices
Canva works seamlessly whether one is on the go with their mobile app or at their desk using a desktop version. The platform automatically syncs projects across devices, ensuring users can work anytime, anywhere.
Incorporating Canva into one's design workflow is straightforward. With its wide array of features and a user-friendly interface, Canva equips users to bring their creative ideas to life without needing extensive graphic design experience.
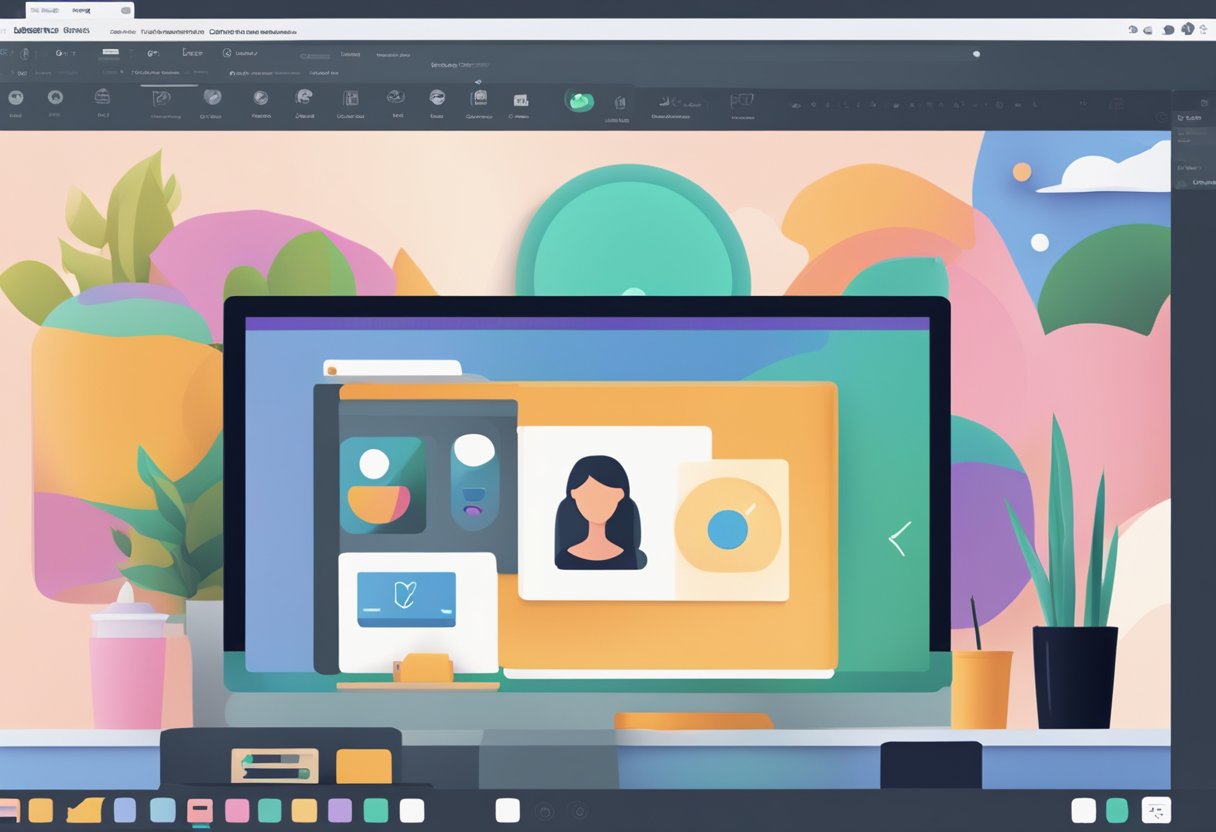
Understanding Canva's Interface
When using Canva, a user's proficiency often hinges on their ability to navigate and utilize the platform's interface, which is designed to be intuitive. Central to this are the editor side panel and the search bar, two vital components for efficient design creation.
Navigating the Editor Side Panel
The editor side panel in Canva is the user's toolbox, containing a variety of features that can be applied to their design. It is where one finds the Elements tab, a repository of graphics and other design elements. The editor side panel is typically located on the left side of the screen, categorized into sections such as templates, elements, uploads, and more. To add a border:
- Click on the Elements tab within the side panel.
- Browse through the available options or use the search box to find specific border styles.
Using the Search Bar Efficiently
The search bar in Canva plays a pivotal role in streamlining the design process. It allows users to quickly find design elements by entering relevant keywords. Here's how to use it effectively for adding a border:
- Type "borders" into the search box at the top of the page.
- The system will suggest relevant results, which can then be added to the design with a single click.
By mastering the editor side panel's sections and utilizing the search bar, users are well-equipped to find and incorporate the necessary elements to enhance their Canva creations.
Working with Images in Canva
In Canva, managing images is a straightforward process, allowing users to effortlessly add visual elements, adjust their dimensions and positions, and personalize them to fit the design's aesthetic needs.
Adding Images to Your Design
One can add images to a design in Canva by either uploading their own pictures or selecting from a vast library of stock images. To incorporate an image, users simply navigate to the 'Uploads' section or choose from the available categories within Canva's integrated 'Photos' tab.
Resizing and Positioning Images
After adding an image to a canvas, resizing and positioning are essential to fitting the image within the composition. Users click on the image to select it and then drag the white circle handles to adjust the size. For precise positioning, the user can move the image around freely or use alignment tools for exact placement relative to other elements.
Editing and Customizing Images
Beyond basic adjustments, Canva offers a variety of options to edit and customize images, including filters, transparency controls, and the ability to crop to a desired aspect ratio. Users select an image and then click the 'Filter' or 'Crop & edit' button on the toolbar to access these functions. It's straightforward to give an image a tailored look that complements the overall design.
For more detailed instructions on adding a border in Canva, users can refer to resources like Adding border elements on the Canva Help Center or How To Add A Border In Canva.
Incorporating Design Elements
In Canva, enhancing a design with borders involves leveraging shapes, lines, and graphics. These borders can add depth and definition to a project, making it more visually appealing.
Utilizing Shapes and Lines
In Canva's library, users can find a variety of shapes and lines that serve as basic building blocks for creating borders. To add these design elements:
- Select 'Elements' from the side panel.
- Choose Lines & Shapes.
- Drag and drop your chosen line or shape to enclose the area where a border is needed.
One can resize and duplicate these elements easily, offering flexibility in border design. It's important to maintain consistent spacing and alignment to ensure a professional look.
Exploring the Elements Library
The Canva library boasts an expansive collection of elements, including graphics and thematic visuals like flowers. To explore this:
- Click on "Elements" from the side menu.
- Use the search function to find specific elements such as flowers.
- Drag your chosen graphic to the canvas and adjust to frame your content.
By browsing the elements library, users can incorporate more intricate borders that complement the design's overall aesthetic. The use of thematic graphics, when aligned with the design's intent, can enhance the message and visual impact of the project.
Enhancing Borders and Frames
In Canva, borders and frames serve as crucial elements to accentuate images and text within a design. Understanding the tools and options available can turn a simple graphic into a polished and professional-looking piece.
Applying Borders to Images
To add a distinct visual edge to images, users can employ photo borders. Starting with the "Elements" tab, one selects a frame that complements their imagery. The effectiveness of a border hinges on the seamless integration with the image it surrounds.
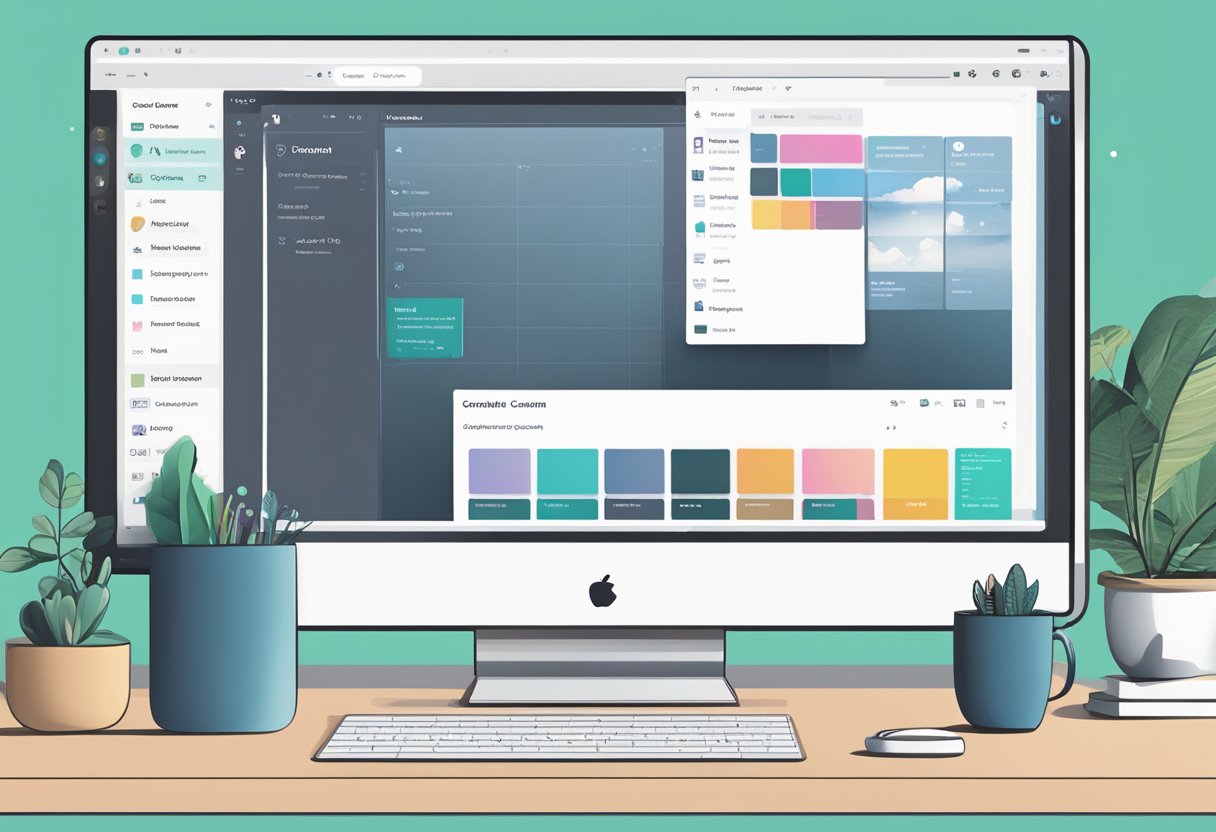
Selecting Border Styles and Colors
A variety of border styles can be explored through the editor's toolbar. Upon selecting "Border style," users have the liberty to pick from a myriad of options. For an additional touch of customization, Canva facilitates the change of a border's color—a process simplified by the color tile icon appearing next to the selected style.
Adjusting Border Size and Transparency
Manipulating the size of a border is achievable by clicking and dragging the slider that appears in the editor options. In terms of transparency, adjusting the opacity can lend a more subtle or forceful feel to the border as desired. Canva provides fields for precise numerical input, offering designers meticulous control over border size and transparency levels.
Advanced Border Techniques
In Canva, advanced border techniques can elevate the aesthetic of any design. These methods involve a blend of layering strategies, hand-drawn touches, and effects such as glow and shadows to create depth and texture.
Layering with Borders
When layering borders, designers often experiment with multiple borders around an image or text to create complexity and emphasis. They can achieve this by adding borders of varying widths and colors one onto another. To layer effectively, one might use squares and rectangles around the element, ensuring each layer is slightly larger than the last to create a stepped appearance.
Creating Hand-Drawn Borders
Hand-drawn borders bring a unique, personal touch to designs; they can be crafted by using the freehand drawing tool in Canva or by adding pre-designed hand-drawn elements from the Canva library. Users should aim for consistency in their brush strokes and can press "R" on their keyboard to draw rectangles freehand for a more rustic border.
Applying Glow and Shadow Effects
Glow and shadow effects create depth, making elements pop. Users can apply these effects by selecting their text or image and then choosing the 'glow' or 'shadow' option from the effects menu. Adjust sliders to control the intensity and spread of the glow or shadow, ensuring that these effects complement the other design elements without overwhelming them.
Careful application of advanced techniques can distinguish a Canva design, making it more visually compelling and professional.
Design Optimization
Optimizing a design in Canva involves leveraging templates and adjusting elements such as text and fonts to create a visually appealing and cohesive look. Understanding how to modify these components allows for a more professional and polished outcome.
Working with Templates and Backgrounds
When selecting a template, one should consider the relevance to the project's theme and the ease of customization. Utilizing Canva's vast library of templates offers a starting point that can be tailored to fit specific needs. For instance, one may choose a template with borders and adjust its color scheme to maintain brand consistency. It's also important to ensure that any chosen background complements the template and doesn't detract from the message.
- Select Templates: They should start with a purpose-aligned template.
- Customize Backgrounds: Maintaining clarity while enhancing the visual interest is key.
Customizing Text and Fonts
Text and fonts are critical in communication within a design. They offer the ability to convey messages clearly and contribute to the design's overall impact. When customizing text, one needs to consider the font style and size, ensuring readability and alignment with the design's tone.
Font Customization Checklist:
- Readability: Use clear, legible fonts for body text.
- Tone: Match fonts to the design's mood – professional fonts for business content, creative fonts for informal designs.
Incorporating these elements effectively will significantly enhance the design's quality, making it more engaging and effective for the target audience.
Canva Features for Professional Use
Canva provides a suite of features designed to meet the demands of professional design work. One of Canva's premium options is Canva Pro, which expands upon the free features and tools available to users.
Professional Design Elements Professionals have access to a wider array of sophisticated design elements that can enhance their projects:
- An extensive library of pro-level templates
- Exclusive access to premium stock images, videos, and audio
- Advanced design components such as frames, icons, and shapes
Branding Kit Canva Pro offers a Branding Kit which allows professionals to:
- Store and apply brand logos
- Utilize custom fonts
- Consistently use brand-specific color palettes
Team Collaboration Tools
- Real-time collaboration across different accounts
- Ability to comment and provide feedback directly on designs
- Team folders for organized asset management
Advanced Editing Features Professionals benefit from advanced editing capabilities such as:
- Background remover
- Animation tools for dynamic content creation
- Magic resize for adapting designs to various formats
No Watermarks Paid subscriptions remove watermarks from premium elements, ensuring a clean and professional final product.
Priority Support Subscribers have the convenience of priority support to resolve any issues promptly, minimizing any potential work disruptions.
Canva Pro is tailored for users who need more robust, paid features to produce high-quality professional designs efficiently.
Finalizing and Sharing Your Canva Design
Once a designer has added borders and other elements to their creation in Canva, it is essential to ensure clear focus before sharing it with the world on social media.
Checking Design Focus and Emphasis
Before exporting a design, they should revisit their work to confirm that the border and overall composition effectively draw attention to the most important part of the content. One should look for visual balance and ensure that the border enhances the central message without overwhelming it. The emphasis should be on the main subject, making sure it stands out appropriately.
Exporting and Sharing on Social Media
After ensuring the design's focus, the designer can proceed to export their project. Canva offers various file formats suitable for sharing across different platforms. The common steps include:
- Choosing the right format (PNG for high quality, JPG for a smaller file size, or GIF for animation).
- Clicking the 'Download' button to save their work.
Once the design is saved, one can share it directly from Canva to their social media accounts by selecting the 'Share' button and picking the appropriate social media post destination, like Facebook or Instagram. For a more targeted approach, they might want to customize the design's size or layout to fit the requirements of the specific social media platform. This ensures the content appears as intended, maximizing engagement and impact.
Canva Tutorial and Tips
Creating a visually appealing border in Canva can enhance the overall design of your project. Users should find these steps straightforward and easy to implement:
To Add a Border:
- Navigate to the Elements tab.
- In the search bar, type "Borders" and press Enter.
- Choose from the variety of border options available.
For users looking to add a touch of individuality:
To Customize Borders:
- Rotate: Select the border and find the rotation handle above it. Click and drag to rotate.
- Flip: Right-click on the border, select "Flip" and choose either "Horizontal" or "Vertical."
Adjusting Border Size:
- Click on the border.
- Drag the corner handles to stretch to the desired size while maintaining aspect ratio.
- Hold Shift while dragging to resize freely without maintaining aspect ratio.
To duplicate a border:
- Select the border.
- Use CMD+D (Mac) or CTRL+D (Windows).
| Action | Buttons | Result |
|---|---|---|
| Duplicate | CMD+D / CTRL+D | Create a copy of the selected border. |
| Rotate | - | Click and drag the rotation handle. |
| Flip | Right-click | Choose to flip horizontally or vertically. |
| Stretch/Resize | - | Drag corner handles or hold Shift to resize freely. |
The above pointers should adequately assist users in adding and customizing borders in their Canva projects, offering a balance between aesthetic flexibilities and user-friendly design functionality.
Utilizing Canva for Varied Content Types
Canva's versatility enables users to tailor their designs specifically for different types of content, be it social media posts or engaging video content. Each mode boasts unique tools and features that optimize content for its intended platform.
Designing Social Media Posts
For social media posts, Canva offers a plethora of templates and design elements that cater to the specific dimensions and aesthetics of different platforms. Users can select from an array of borders to enhance the visual appeal of their images or to emphasize brand colors. Elements can be found under the Frame section, ensuring the border aligns with the overall design theme. For detailed guidance, users can refer to Adding borders and rounded corners to elements.
- Twitter & Instagram: Utilize square or landscape templates optimized for these platforms.
- Facebook & LinkedIn: Choose from a range of professional and casual design solutions.
- Pinterest: Vertical templates with eye-catching borders and elements are readily available.
By selecting the appropriate border style and adjusting corner roundness, each post can stand out in a crowded social media feed, inviting greater engagement.
Creating Engaging Video Content
When creating videos, Canva allows users to insert borders into their video content which serves to frame the visual narrative and maintain consistency across a series. For video-specific borders, users might explore Canva’s offerings for video editing, ensuring that their content is not only visually cohesive but also platform-compliant. The process of adding these elements is similar to that for static posts; designers can add border elements to their videos by navigating through the same user-friendly interface.
- Intro & Outro Screens: Select borders that complement the tone of the video.
- Highlights & Features: Emphasize key segments with subtle, yet distinct borders.
By maintaining a clear, confident approach to design, they ensure that their video content remains both professional and engaging, contributing to a polished brand image.
Developing Aesthetic Designs
When approaching a design project in Canva, aesthetics play a critical role in conveying value and attracting the viewer's attention. A well-placed border can frame a design effectively, highlighting the central elements and enhancing the overall aesthetic.
Choosing a Border:
- Simple Borders: Ideal for a minimalistic look; reinforces the content without distraction.
- Decorative Borders: Introduces artistic flair, suitable for invitations or thematic content.
- Bold Borders: Makes a strong visual statement, often used in promotional material.
Adding the Border:
- Select Elements and then a shape such as rectangle or square for the border.
- Adjust the size to frame your design.
- Experiment with color and thickness to match the project's theme and aesthetic.
| Factor | Impact on Design Aesthetic |
|---|---|
| Color | Sets mood and tone. |
| Shape | Defines structure. |
| Size | Affects focus and balance. |
Usage of borders should enhance the project's message rather than detract from it. It's essential to maintain coherence with the overall design language of the project to provide aesthetic value. The choice of border often reflects the designer's intention and can transform a simple design into a more compelling visual narrative.
Canva's Help Center provides further guidance on adding border elements, offering both free and paid options to suit various project needs. Whether using the platform's provided assets or creating a custom border, thoughtful integration is key to developing designs that make a lasting impression.
Frequently Asked Questions
Adding a border in Canva enhances the visual appeal of your designs. This section addresses common inquiries related to border adjustments and implementations within the Canva platform.
What are the steps to adjust the thickness of a border in Canva?
To adjust the thickness of a border in Canva, one must select the border on their design and then drag the handles that appear to resize its width. Thickness can be controlled through scaling or by changing the weight setting if available.
How can I add a border to an image using Canva's tools?
Adding a border to an image in Canva is straightforward; users can either use a frame element or create a custom border by inserting shapes such as rectangles or squares around the image. One must then adjust the sizes to fit as a border.
Is it possible to create a white border around my photo in Canva, and how?
Yes, it's possible to create a white border around a photo in Canva. Users typically use a square or rectangle shape, color it white, and place it behind their photo to serve as a border, adjusting the size to achieve the desired thickness.
Can you guide me through resizing an existing border in Canva?
To resize an existing border in Canva, one must click on the border to select it and then drag its corners or edges to modify the dimensions. Keeping the aspect ratio consistent should be considered when resizing.
How do I put an outline around a text or element in Canva?
To put an outline around text or an element in Canva, users can duplicate the text or element, change its color to create a contrasting effect, and position it behind the original to simulate an outline.
What is the method for adding a free border to my photo using online tools?
One method for adding a free border is by using Canva's built-in elements, such as frames or lines. Users can search for Borders in the Elements tab and choose from a variety of free options to apply to their photos.